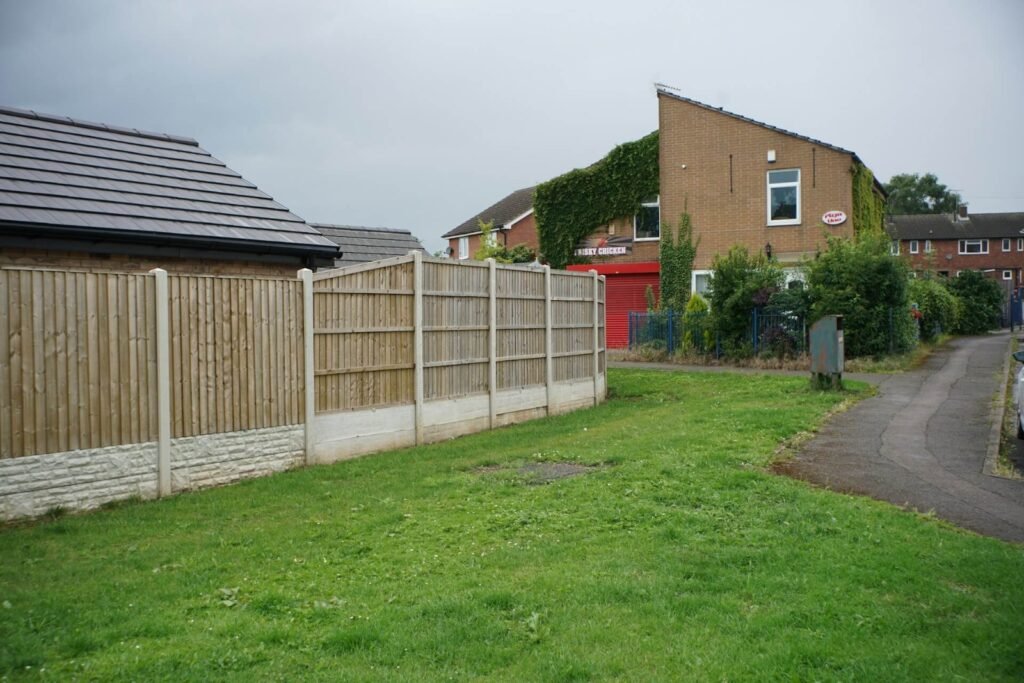

A new garden fence comes together in four decisions: where the boundary lies and whether you need permission, how tall the fence should be, which panel style suits the job, and how the posts go in. Get those right in that order and the fence will stand straight for years. Get them wrong and you face a neighbour dispute, a planning letter or a panel lying flat after the first winter storm.
Check the boundary and the rules before you buy anything
In most of England, a garden fence up to 2 metres high needs no planning permission, falling to 1 metre where it sits next to a road or footpath used by vehicles. These limits come from permitted development rights, and they change if the property is a listed building, sits in a conservation area or has had those rights removed by the council. Wales, Scotland and Northern Ireland have their own rules, so check with your local planning authority if in doubt.
Ownership matters as much as height. Your title plan from HM Land Registry may show which side is responsible for a boundary, often marked with a “T” symbol, but many plans show only general boundaries. If the fence will replace a shared or disputed one, talk to your neighbour first and agree the line in writing. It costs nothing and avoids the most common fencing argument.
By convention, the smooth “good side” of the panels faces outwards towards the neighbour or the street, with posts and rails on your side. It is courtesy rather than law, but it is what most neighbours will expect.
Match the height to what the fence has to do
The right height depends on the job: 6ft panels for full privacy in a back garden, lower fencing where you want to mark a boundary without blocking light or views. Standard UK panels are 6ft (1.83m) wide, so measuring the run and dividing by six gives a quick first estimate of how many you need.
| Purpose | Typical height | Notes |
| Full privacy in a back garden | 6ft (1.83m) | Add the gravel board and post cap to stay within the 2m limit |
| Boundary with some screening | 5ft (1.52m) | Lets more light into small gardens and borders |
| Front garden or roadside | 3ft to 4ft | Keep to 1m next to a road used by vehicles |
| Extra height without a solid wall | Panel plus trellis topper | Trellis lets climbers fill the gap and softens the top line |
Remember that the 2 metre limit applies to the whole structure, measured from ground level on your side. A 6ft panel on a 150mm gravel board with post caps on top comes close to it, which is worth checking on sloping ground.
Choose a panel style that suits your site
Panel style decides how strong, how private and how long-lasting the fence will be, so choose it for the site first and the look second. An exposed, windy plot needs a different panel from a sheltered courtyard, even if both owners want the same level of privacy.
Closeboard panels are built from vertical overlapping featheredge boards fixed to horizontal rails. They are the sturdiest common option and the usual choice for windy or exposed gardens and boundaries that take knocks from children and pets.
Lap panels use horizontal overlapping boards in a frame. They are lighter and cheaper than closeboard, which makes them practical for long sheltered runs where budget matters more than strength.
Decorative and slatted panels trade some privacy for style, with gaps that let air and light through. Because wind passes through rather than pushing against a solid face, they also put less load on the posts.
Palisade panels are the classic picket style for front gardens, marking the boundary at low height without hiding the house.
Composite panels avoid timber altogether. They cost more up front but need no staining or preservative treatment.
If you want to compare these side by side in 5ft and 6ft heights, browse a range of fence panels for the garden that covers closeboard, lap, decorative, palisade, composite and trellis options in one place, which makes it easier to mix styles along different stretches of the same boundary.
Set the posts properly, because they carry the fence
Most fence failures start at the posts, not the panels. A panel is only as secure as what holds it, so spend your care on post depth, post material and keeping timber off the soil.
A common rule is to bury about a quarter of the post’s length. For a 6ft fence that means 8ft (2.4m) posts set roughly 600mm into the ground. Timber posts are easy to cut and fix to, while concrete posts will not rot and suit slotted panels on windy sites.
Gravel boards sit along the bottom between posts, so the panel never touches wet soil. Replacing a rotten gravel board is a small job; replacing a panel whose bottom rail has rotted is not.
A typical installation runs in this order:
- Mark the line with string and pegs, and set out post positions at panel width plus post width.
- Dig the first hole, set the post in fast-setting concrete and check it is plumb on two faces.
- Fit the gravel board and first panel, then use it to position the next post exactly.
- Repeat panel by panel, checking height and level as you go, and finish with post caps.
Autumn and winter suit fencing well: borders are cut back, so you can reach the boundary without trampling plants.
Keep it in shape with a yearly check
A timber fence lasts longest when it gets a quick inspection once a year and a fresh coat of treatment when the finish starts to fade. Pressure-treated timber holds preservative deeper in the wood, while dip-treated panels have a surface coating that needs renewing more often.
Late spring is a good time for the check. Look for loose fixings, rails pulling away from posts and any panel bottom that has started to touch soil or gravel. Clear climbers and leaf build-up away from the base, since trapped moisture is what drives rot. Small repairs done then save a full replacement a few winters later.